Hello! This is my first blog post so let’s just jump right in! Today I will be showing you a staple tool in ZBrush. That tool is called the ZRemesher.
When first looking upon the ZRemesher tool it may seem pointless, but it is more useful than you think. Here I will walk you through one of the ways you can ZRemesh your own models.
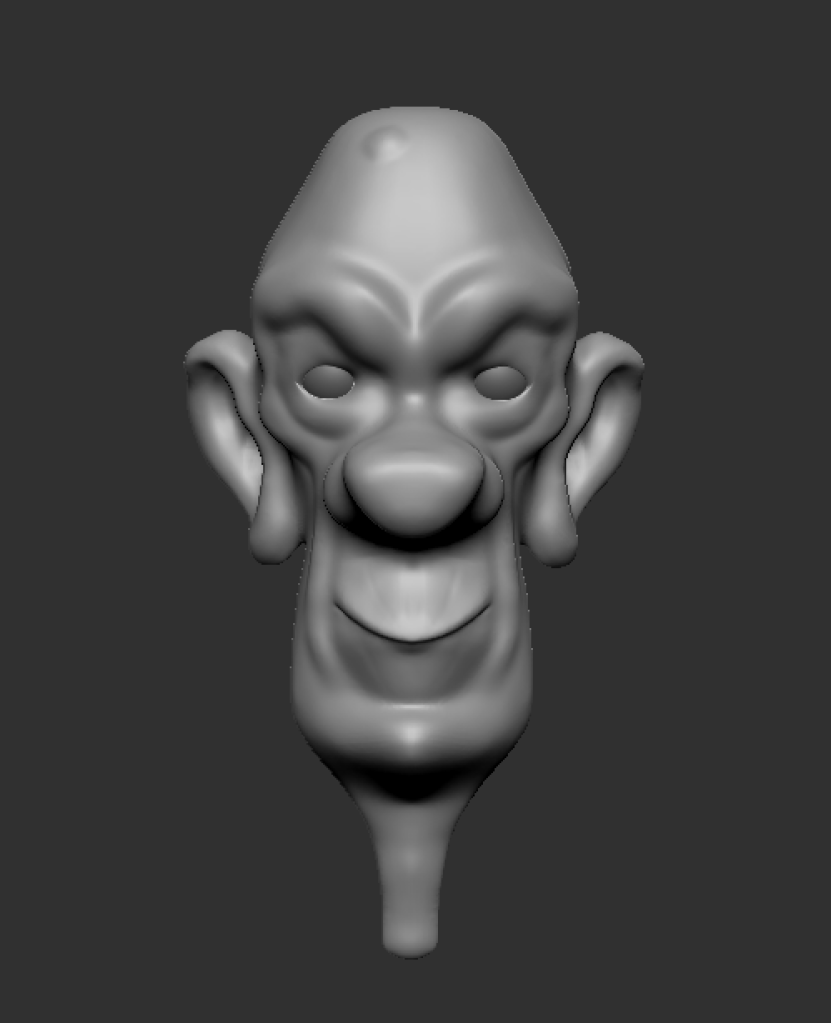
Starting off we want to begin with selecting a piece of geometry that you wish to lower the polygon count on.
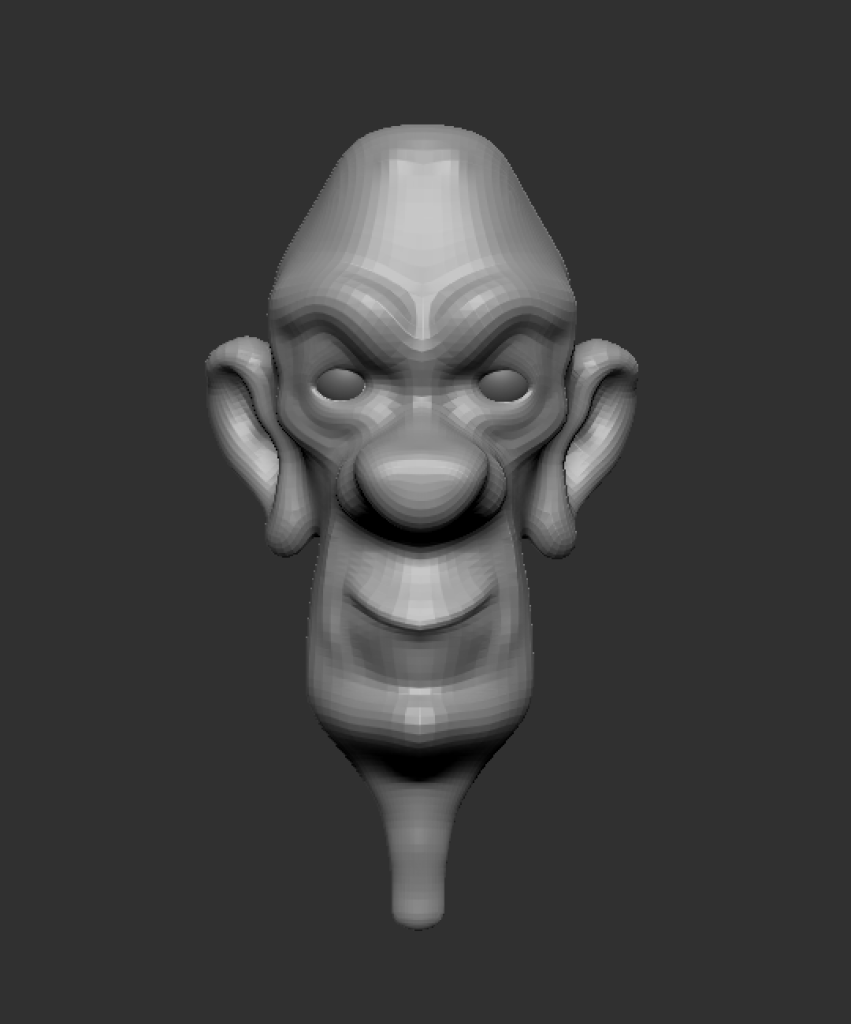
Below I have my geometry sculpted which has about 157,737 polygons.
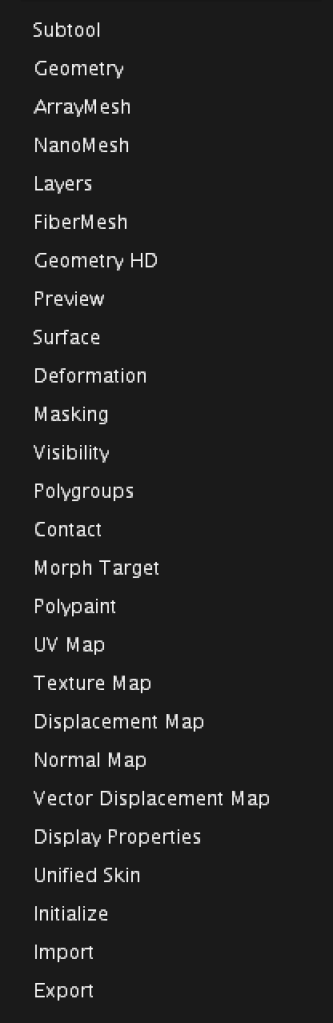
Now we will navigate to the Geometry tab that is located on the rights side of the interface second from the top under the Subtool tab.
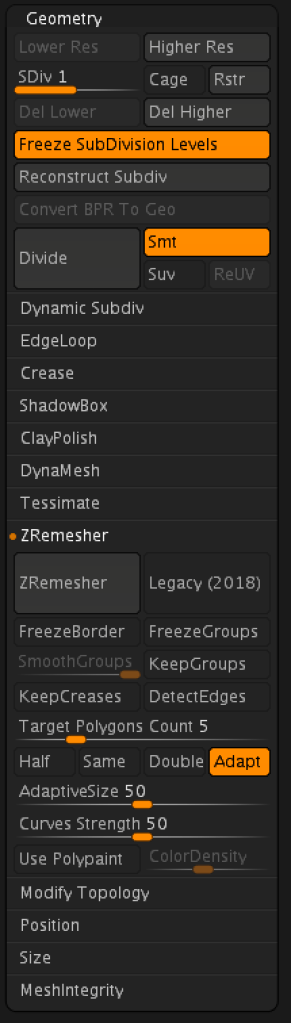
Once the Geometry tab is open you will want to navigate to the ZRemesher tab with the Geometry tab. The Zremesher tab is located under the Tessimate tab.
After this you will want to turn off the adapt button and turn the half button so that it is highlighted.
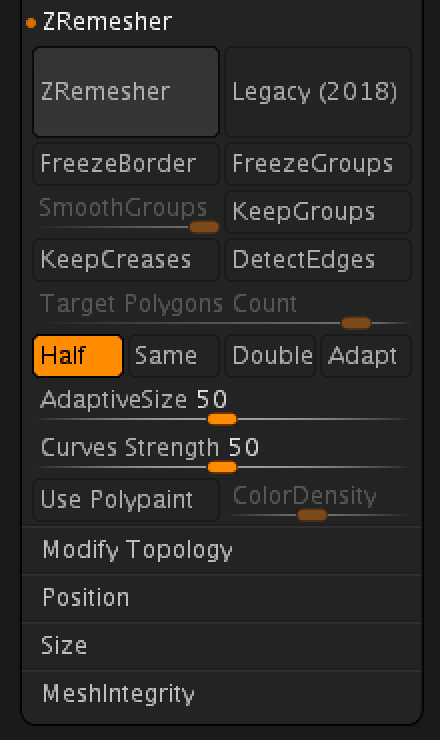
After this you may click the large ZRemesher button at the top of the ZRemesher tab.
After you have clicked the ZRemesher button your geometry will half its polygon count. You have click the ZRemesher button several time to achieve the polygon count you are looking for.
Below is my model after ZRemeshing it around 4 times. This simplifies the geometry and can make other processes easier with ZBrush.
In this tutorial I showed you how to half your polygon count within ZBrush using the ZRemesher tool. Halving your polygon count is only one way to use the ZRemesher tool there are also several different ways to use it. Below I will link the other ways you can use the ZRemesher tool for anyone that is interested!
